An Introduction to A to Z Index Categories
Categories are used in A to Z Indexes to gather information, all related to the same topic, into one place. There are many ways to categorize your information, and below are a couple examples.
Grouping by category or topic
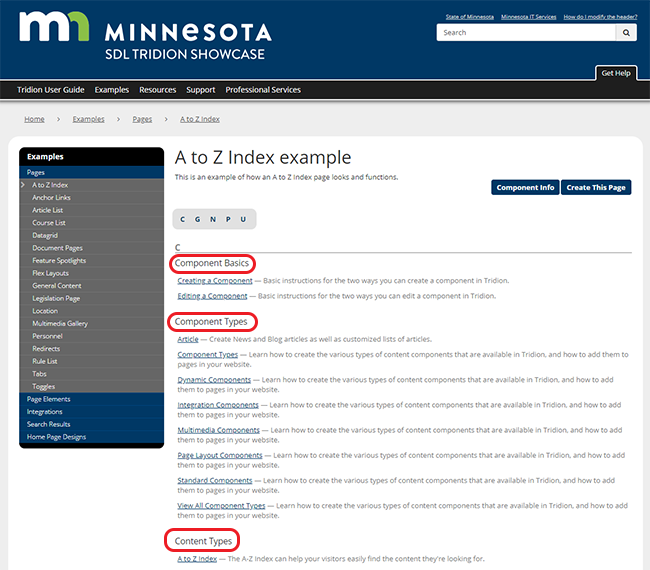
This is how A to Z Index categories are used on this website. If you visit our A to Z Index page, you will see that under a single category (such as "Component Types"), we have 8 webpages listed that are relevant to that topic. Other examples of categories on that A to Z Index page include "Component Basics" or "Content Types."
Grouping by Program Name
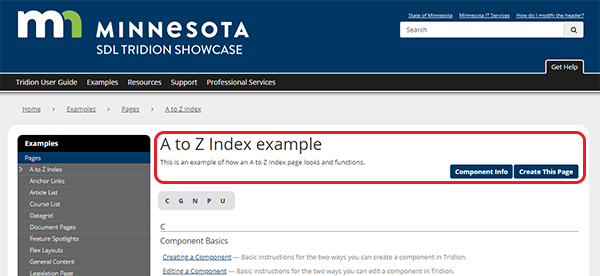
Another way to use A to Z Index Categories is to build a page similar to a site map. DEED's A to Z Index is used in this way. Since DEED uses an audience-based navigation structure, the pages for specific agency programs are not easy to find on their site by browsing alone. DEED opted to use their A to Index as a easy, one-stop-shop for finding specific DEED programs. As you can see below, this means that basically every link has its own category.

Other Options
You are not limited to the two options above. If you can think of other creative ways to use the A to Z Index, please do so! We'd love to see what you come up with.


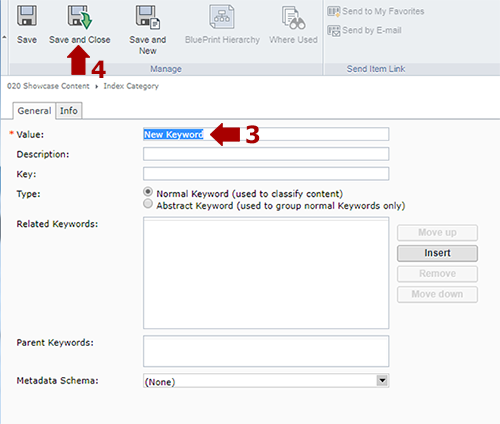
 at the right end of the Index List Type field. This will open a pop-up window. Fill in the Value field with the name of your new index and then click Save and Close. The new keyword will now appear in the Index List Type field. Click the radio button to the left of your new keyword.


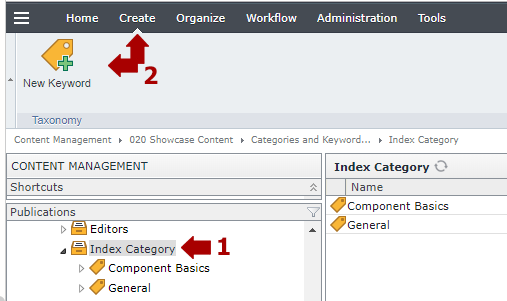
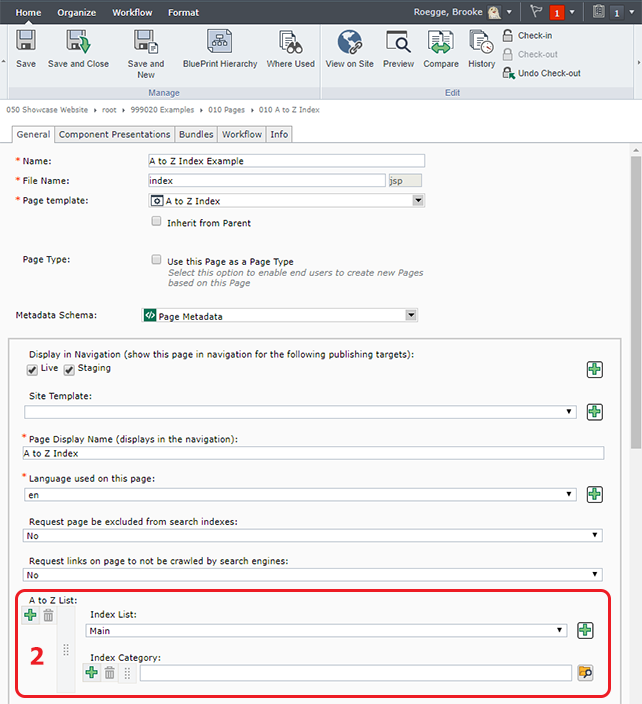
 and a pop-up window will appear.
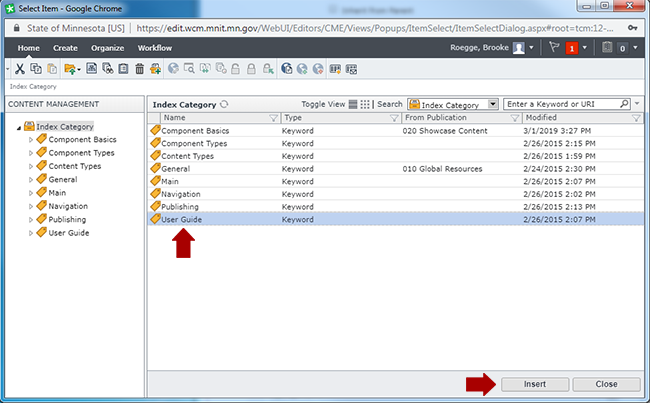
 . This will open a new pop-up.
