Inserting Tables
To insert a table, place your cursor where you want the table to go in the rich-text field. Then, click the Table icon in the top ribbon:

A pop-up will appear asking how many columns and rows the table should have. Enter your preferences and click OK:

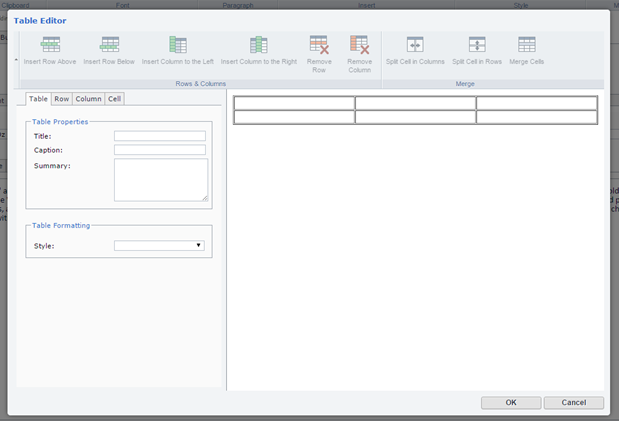
A table editor window will appear:

Enter the following in the Table Properties fields:
- Title
Describe the table in this field. This field acts like alt-text for the table and can be read by screen readers. The content of this field does not appear on the webpage.
- Caption
If you’d like a visible title to sit just above the table on the webpage, then enter it here.
- Summary (optional)
If the Title doesn’t sufficiently describe the table, enter a longer description here. This field can be read by screen readers and the text entered here does not appear on the webpage.
Skip the Table Formatting field.
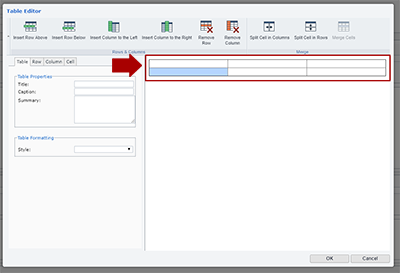
To format individual rows, columns, or cells, you must first click somewhere on the little preview table in the pop up:

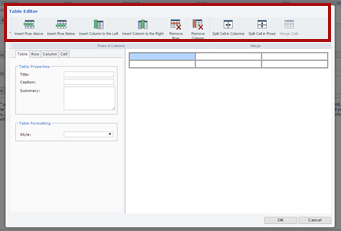
Once you click on that, the row, column, cell, and top ribbon icons will all activate:

As with the options for the entire table, you can opt to alter things like the horizontal alignment or height for individual rows, columns, or cells. From the top ribbon, you can also insert rows and columns, or remove them entirely.